Make Your Own Custom Notebook Cover

Welcome to my series of tutorials this month covering gift ideas that you can easily make and give away to your arty friends or even end up keeping for yourself.

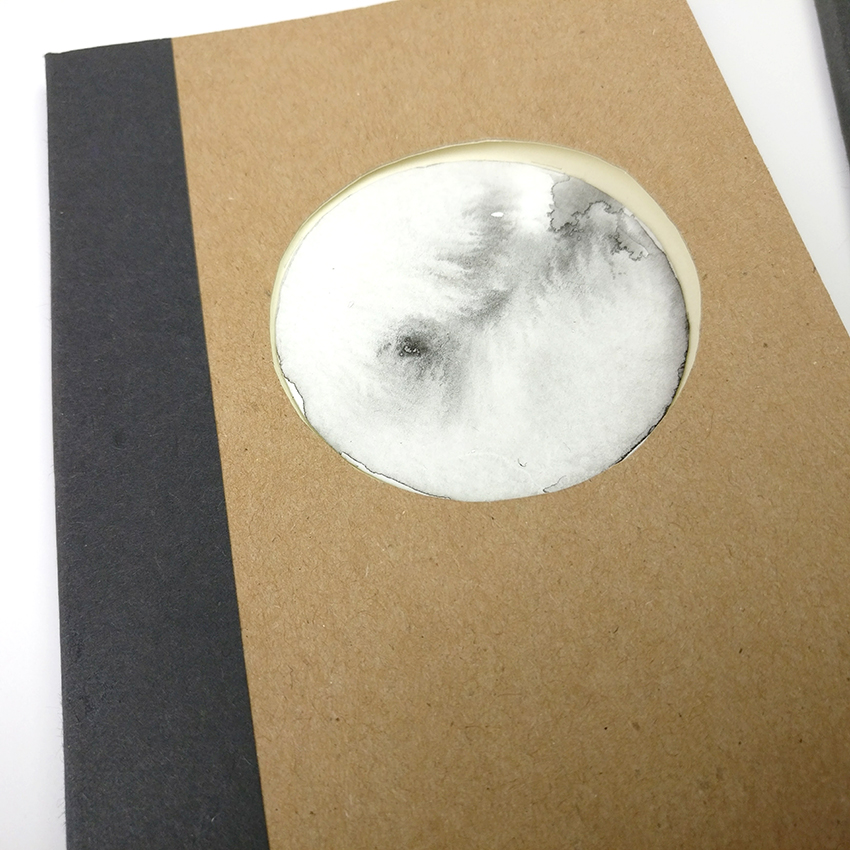
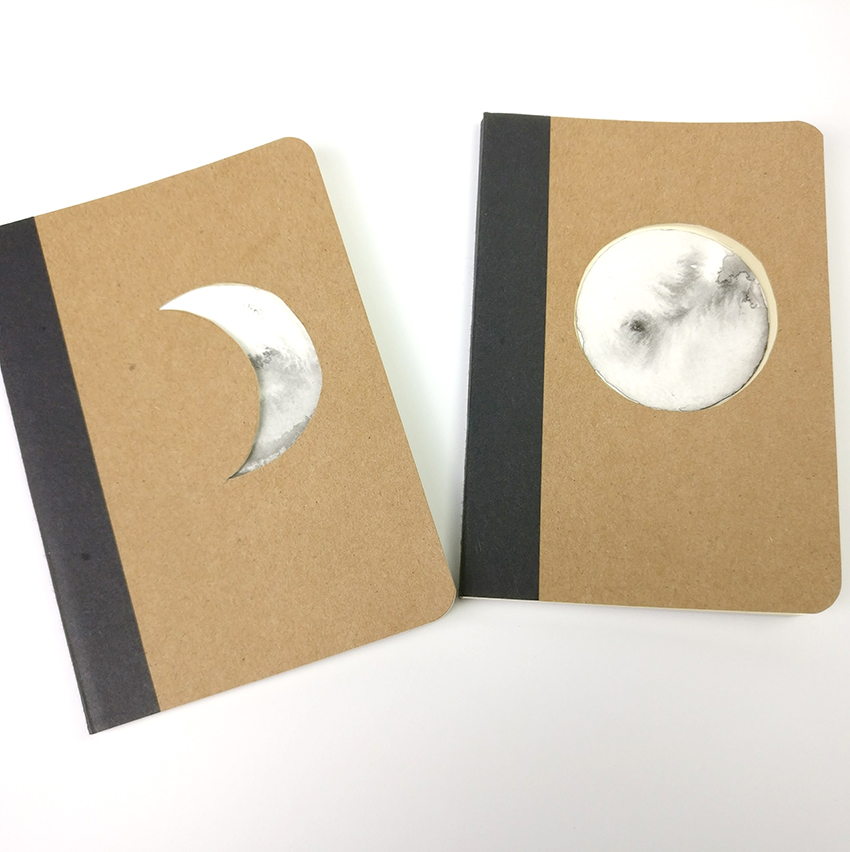
I picked up this little set of three notebooks for super cheap in Flying Tiger but I am sure you can find something similar very easily. Their sturdy kraft covers mean they are perfect for altering.

 Make Your Own Custom Notebook CoverI'm sharing some simple and easy gift tutorials that you can make and give away as gifts to your friends and family. I purchased these simple kraft paper notebooks in a set and by adding some simple alterations wi…

Full moon half moon

I could seriously make these inky moons all day everyday. It never gets old watching the ink move across the page on the water never fails to amaze me.

All tied up with string

These little notebooks are perfect to give away as a set wrapped up in a pretty little bundle. You could totally change the color of your moons to perhaps a pink or blue moon depending on your recipients color favorite.

Don't forget to subscribe!

Please don't forget to subscribe to my youtube channel if you haven't already. That way you can be sure to not miss any tutorials that are coming up this month and many more to come!


PWB SQ Promo.jpg

You can sign up right now for my free online class, Play with Black!

Black is often a color which is overlooked when working with our mixed media projects. With so many other amazing colors available, it's easy to do.

Join me as we delve into the dark side of mixed media! Working with only a few supplies, let’s explore a variety of ways black and its values  can be used to create a gorgeous, layered art journal page.

Make Your Own Envelope Journal Part Two

Welcome to my series of tutorials this month covering gift ideas that you can easily make and give away to your arty friends or even end up keeping for yourself.

This is part two of making your own envelope journal, if you haven't already checked out part one make sure you do as this tutorial builds on the previous one.

 Make Your Own Envelope Art JournalThis month on my youtube channel I am sharing several tutorials which will be perfect to give away as gifts. Like it or not Christmas is coming at this stage and I am always stuck for things to give my arty friends…

Decorating Your Journal 

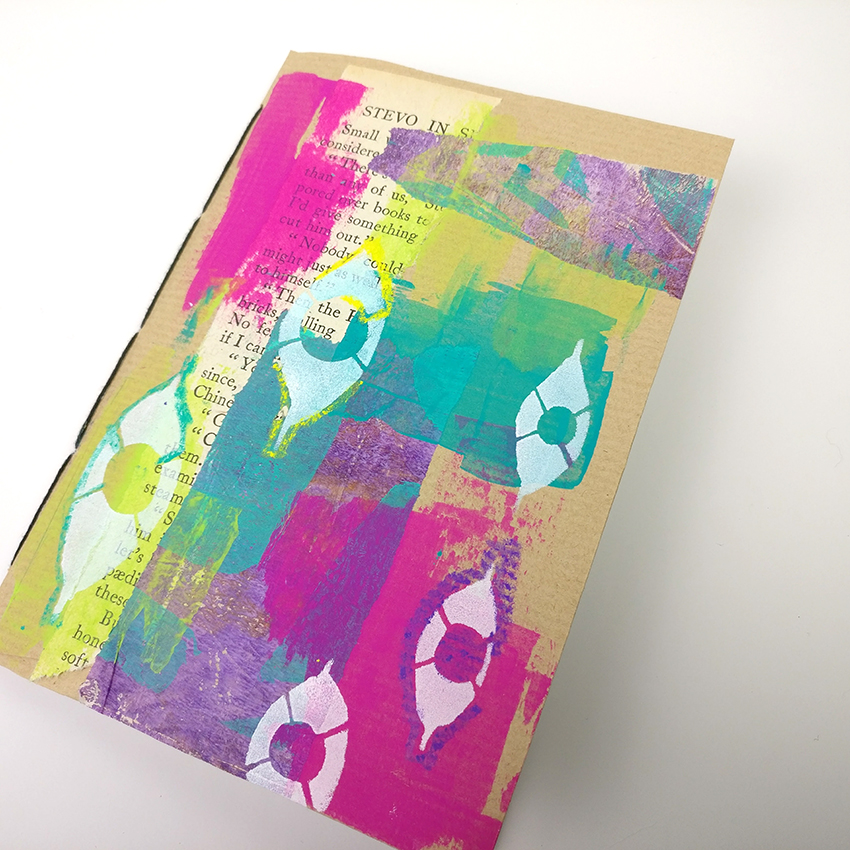
Now we have less exciting part of making our journal done we can get to the fun part of decorating it! I've used stencils and paint for the front part of my journal as well as some book text and printed gelli papers I had in my stash.

Personalise, Personalise, Personalise!

The wonderful part about this little journal is that you can completely personalise it for the person that you are making it for. Spend your time selecting little bits and pieces to add in to make it extra special.

Don't forget to subscribe!

Please don't forget to subscribe to my youtube channel if you haven't already. That way you can be sure to not miss any tutorials that are coming up this month and many more to come!


PWB SQ Promo.jpg

You can sign up right now for my free online class, Play with Black!

Black is often a color which is overlooked when working with our mixed media projects. With so many other amazing colors available, it's easy to do.

Join me as we delve into the dark side of mixed media! Working with only a few supplies, let’s explore a variety of ways black and its values  can be used to create a gorgeous, layered art journal page.

Make Your Own Envelope Journal Part One

Welcome to my series of tutorials this month covering gift ideas that you can easily make and give away to your arty friends or even end up keeping for yourself.

This is part one of making your own envelope journal, part two will be folllowing on next week and I have several others planned for the month.

 Make Your Own Envelope Art JournalThis month on my youtube channel I am sharing several tutorials which will be perfect to give away as gifts. Like it or not Christmas is coming at this stage and I am always stuck for things to give my arty friends…

Constructing Your Journal 

The first part is going to be covering the construction of this journal using some really simple envelopes and binding using a pamphlet stitch. I'm showing you how to bind the journal in my video but a really wonderful tutorial can be found here on Design Sponge. I always refer to it when I am making as well.

Don't forget to subscribe!

Please don't forget to subscribe to my youtube channel if you haven't already. That way you can be sure to not miss any tutorials that are coming up this month and many more to come!


PWB SQ Promo.jpg

You can sign up right now for my free online class, Play with Black!

Black is often a color which is overlooked when working with our mixed media projects. With so many other amazing colors available, it's easy to do.

Join me as we delve into the dark side of mixed media! Working with only a few supplies, let’s explore a variety of ways black and its values  can be used to create a gorgeous, layered art journal page.

Why I've joined Patreon

So today I am going to be getting a little bit personal here on the blog and also some very exciting news! There are big changes coming soon here and there are going to be lots and lots of new things coming down the pipeline.

Why I'm now on Patreon and how you can support me!I am very excited to announce that I am now offering exclusive mixed media and art journal tutorials on my very own Patreon site.I'm sharing here what it's all about and how you can support me over t…

Testing Times

Something that I have not shared much online and outside of my immediate circle is that I have been made redundant from my full time job and this happened back in May of this year. I’m not going to lie and say that this was pleasant, it most certainly was not, and it was a very stressful time. If I am being honest the three years before this happened had not been good ones as this plan had been coming for quite some time although we did not know exactly when it would happen. In the end it was not a surprise but it came very quickly and a little messy in the end.

So after May I found myself unemployed and at somewhat of a crossroads. I was lucky enough to have a sum of redundancy from my employer that left me with a comfortable cushion. And at this crossroads I found myself taking the path of striking out on my own and attempting to make a full time job for myself from my artwork.

Freedom, freedom

Now don’t get me wrong, this path is most certainly not going to me a smooth and steady one. There are very few steps clear ahead of me and I am certainly going to work my butt off to make something of this as I am determined to not have to go back to a regular full time job if I can possibly avoid it. Being able to collect my daughter from school, not worry about school holidays and being much happier in myself than I have been in many, many years has set my mind on this matter for certain.

So what's it all about then?

So to get to the original point of writing this post in the first place, I am now on Patreon!! Don’t worry I am well aware that a lot of you may not be familiar with Patreon or the concept of it so I have written out a few answers to the types of questions that I had when I first learnt about!

What is Patreon?

Patreon is a membership style site where you can support Artists and creators (and me!) and allows you to be rewarded with exclusive content in return from your monetary support.

How much does it cost?

I have multiple levels of monthly payment options and each of them gives you a different type of content depending on your monthly pledge.

Pledge $2 Per Month - Buy me coffee!

Get a patron-only perspective on my work and support me by buying coffee!

• Behind-the-scenes photos and articles

• Patron only articles

• Plus all previous rewards

Pledge $5 Per Month - Behind the scenes

You'll get exclusive behind the scenes looks at what I am working on.

• Fortnightly views into my sketchbooks and journals

• Plus all previous rewards

Pledge $10 Per Month - Let’s Talk Themes

Each month Patreon will be receiving an exclusive monthly theme to base our work and my tutorials around!

• First introduction video each month

• Starting points, hints and tips for the themes

• Resources and supplies lists

• Plus all previous rewards

Pledge $15 Per Month - Here’s the Kitchen Sink

Each month top level Patreons will be working along side me for a theme each month.

• Two exclusive tutorial videos each month

• Supply video each month to go with our theme

• Exclusive digital content including artwork and lettering to go with our theme

• Plus all previous rewards

So what is your plan for Patreon Karen?

Well I am so glad that you asked!! Each month I’ll be creating exclusive content for my Patreon supporters. Just think of as your own personal membership subscription to me! I’ll be creating around a theme each month and giving tutorials that build on each other. Hints and tips will be given in abundance and I am very excited to get going with this project.

I am also very excited to get digital content out there are ready for my Patreon peeps. This is something that I have been working on for a while and I cannot wait to get these things released as well!

How can I support you?

Well it’s very straightforward and easy for you to get started. You can visit my Patreon page directly here and sign up straight away. You’ll be charged your pledge amount straight away and you will have access to current as well as past month’s content. You’ll be charged your pledge amount each month on the 1st by Patreon as a repeat payment. You can cancel at anytime and you are not obliged to sign up for any length of time.

Can I get a say in what you make for Patreon?

Oh my gosh yes!! That is exactly what I want to do for my Patreon tribe. I want you to ask me to show you all the things. If there is something that you want to know or see or find out about then all you have to do is holler at me. I am making this content for you and you’re parting with your cash to view it. I want it to serve you and help you so I am only too happy to show you whatever your little arty heart desires!

Join me why don't you?

So there we have it! I would love to have you join me over on Patreon and consider supporting me. It would mean so much to me to have you along with me and please do not feel that a high amount is all that I am after. Every small amount helps and if you enjoy my content and my art I hope that you will consider lending me your support.


I will be posting teasers later on this week to tempt you into joining me. I have November’s content all ready to go and I am excited to start work now on December’s. Yes I am determined to be super organised with it!!

Make Your Own Custom Travellers Notebook Cover - A Stencilgirl Holiday Blog Hop

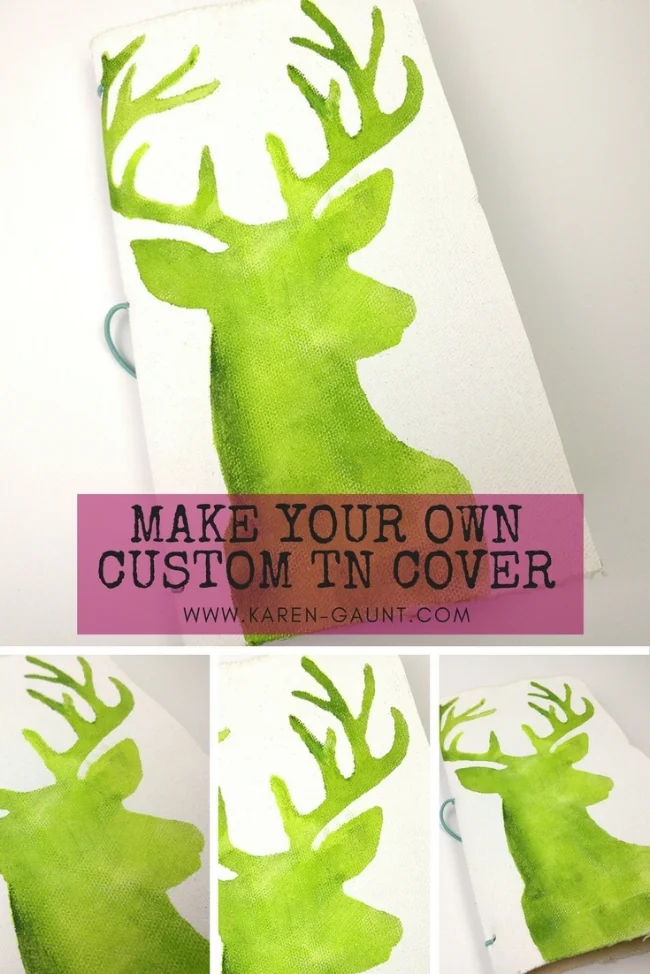
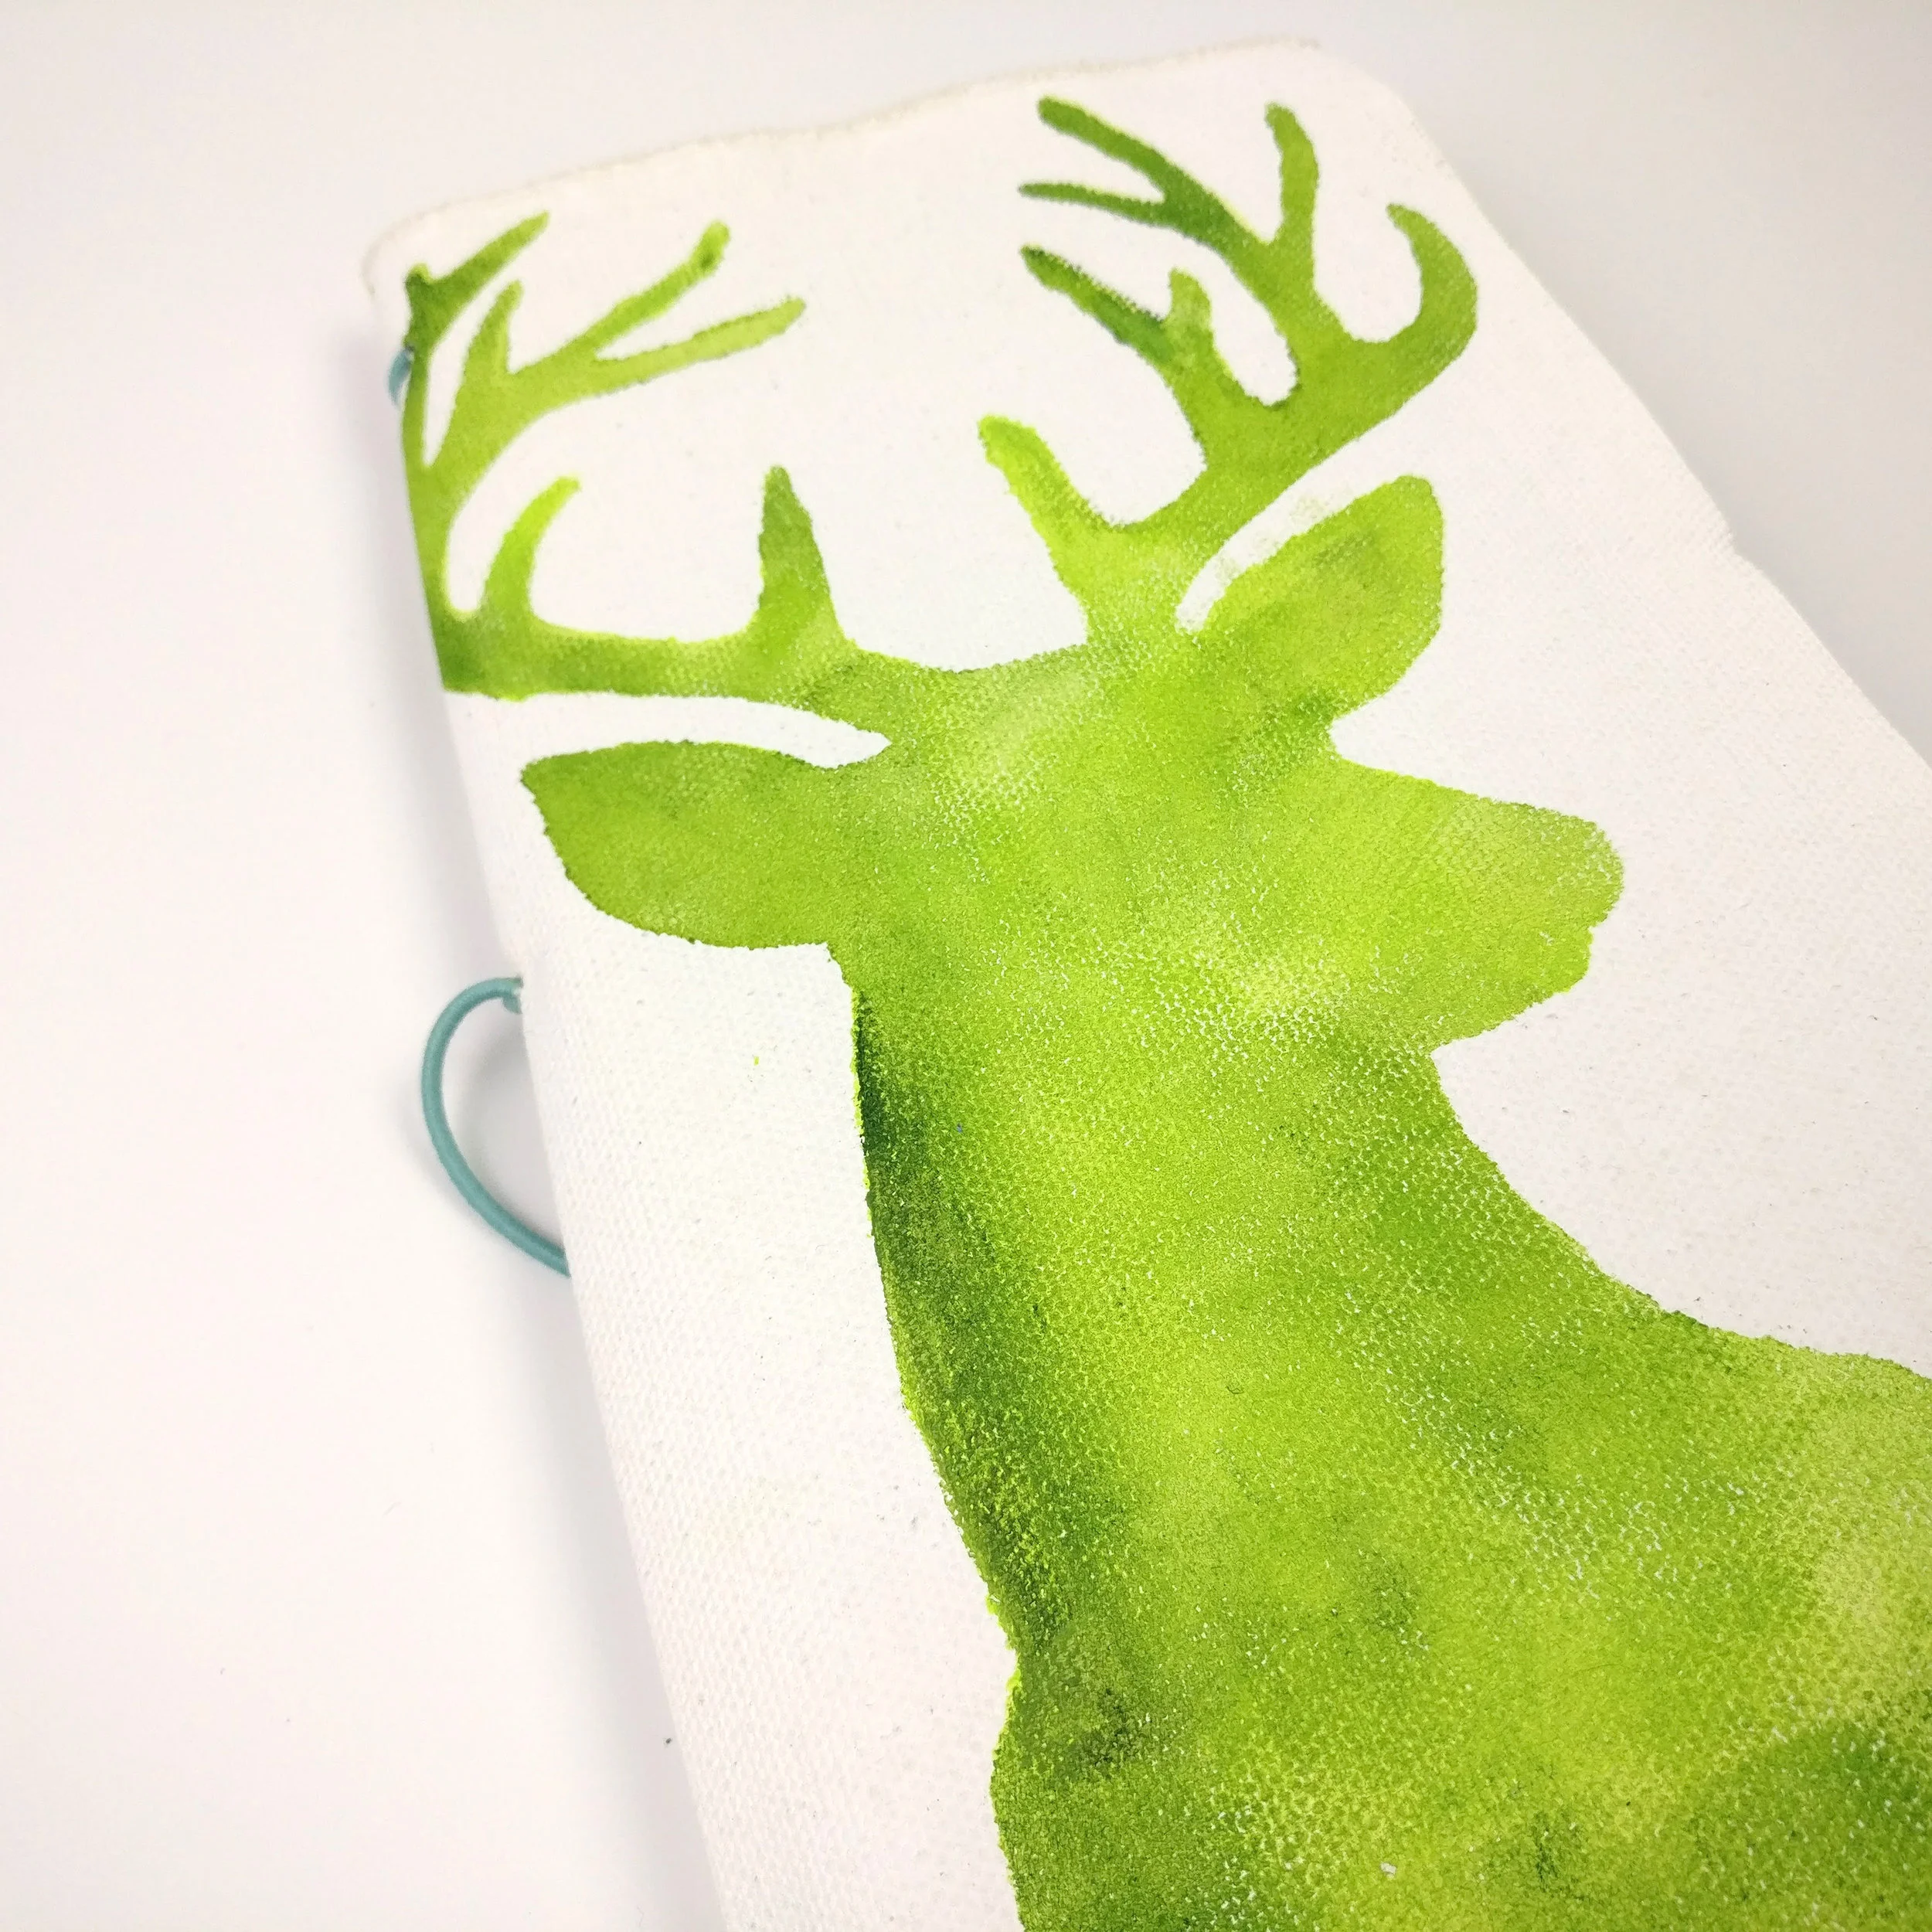
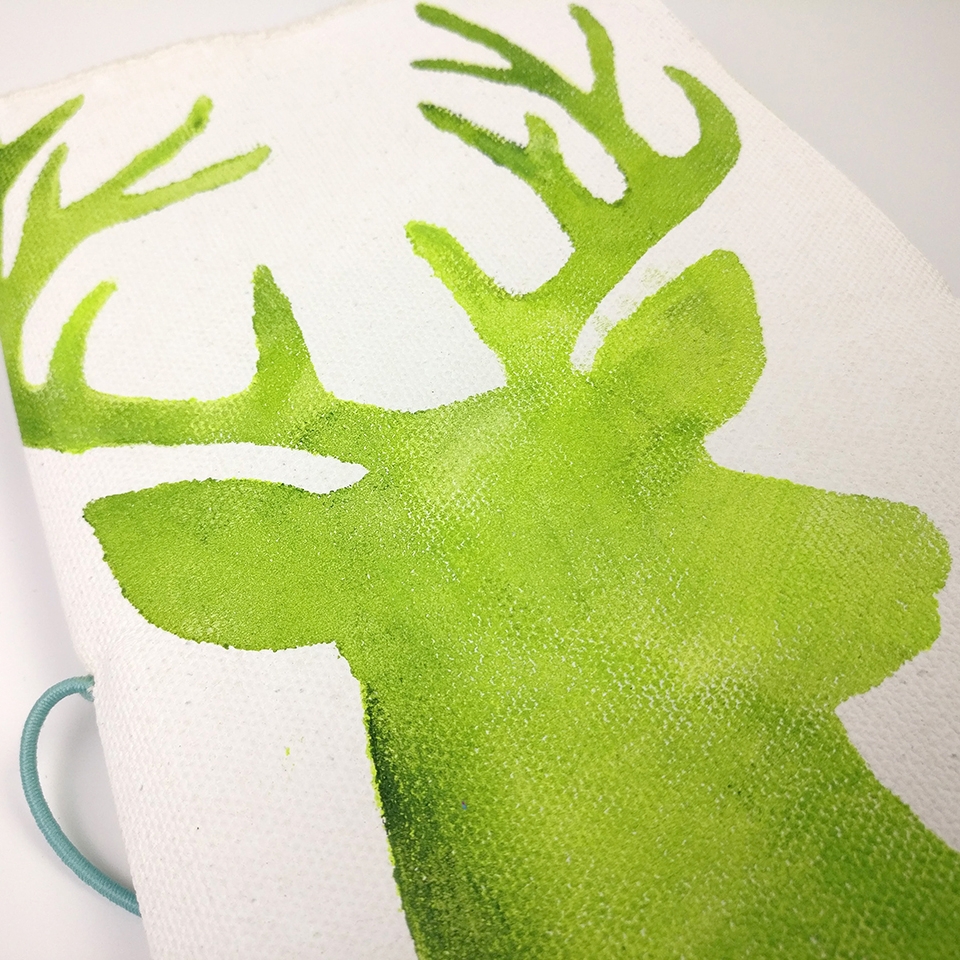
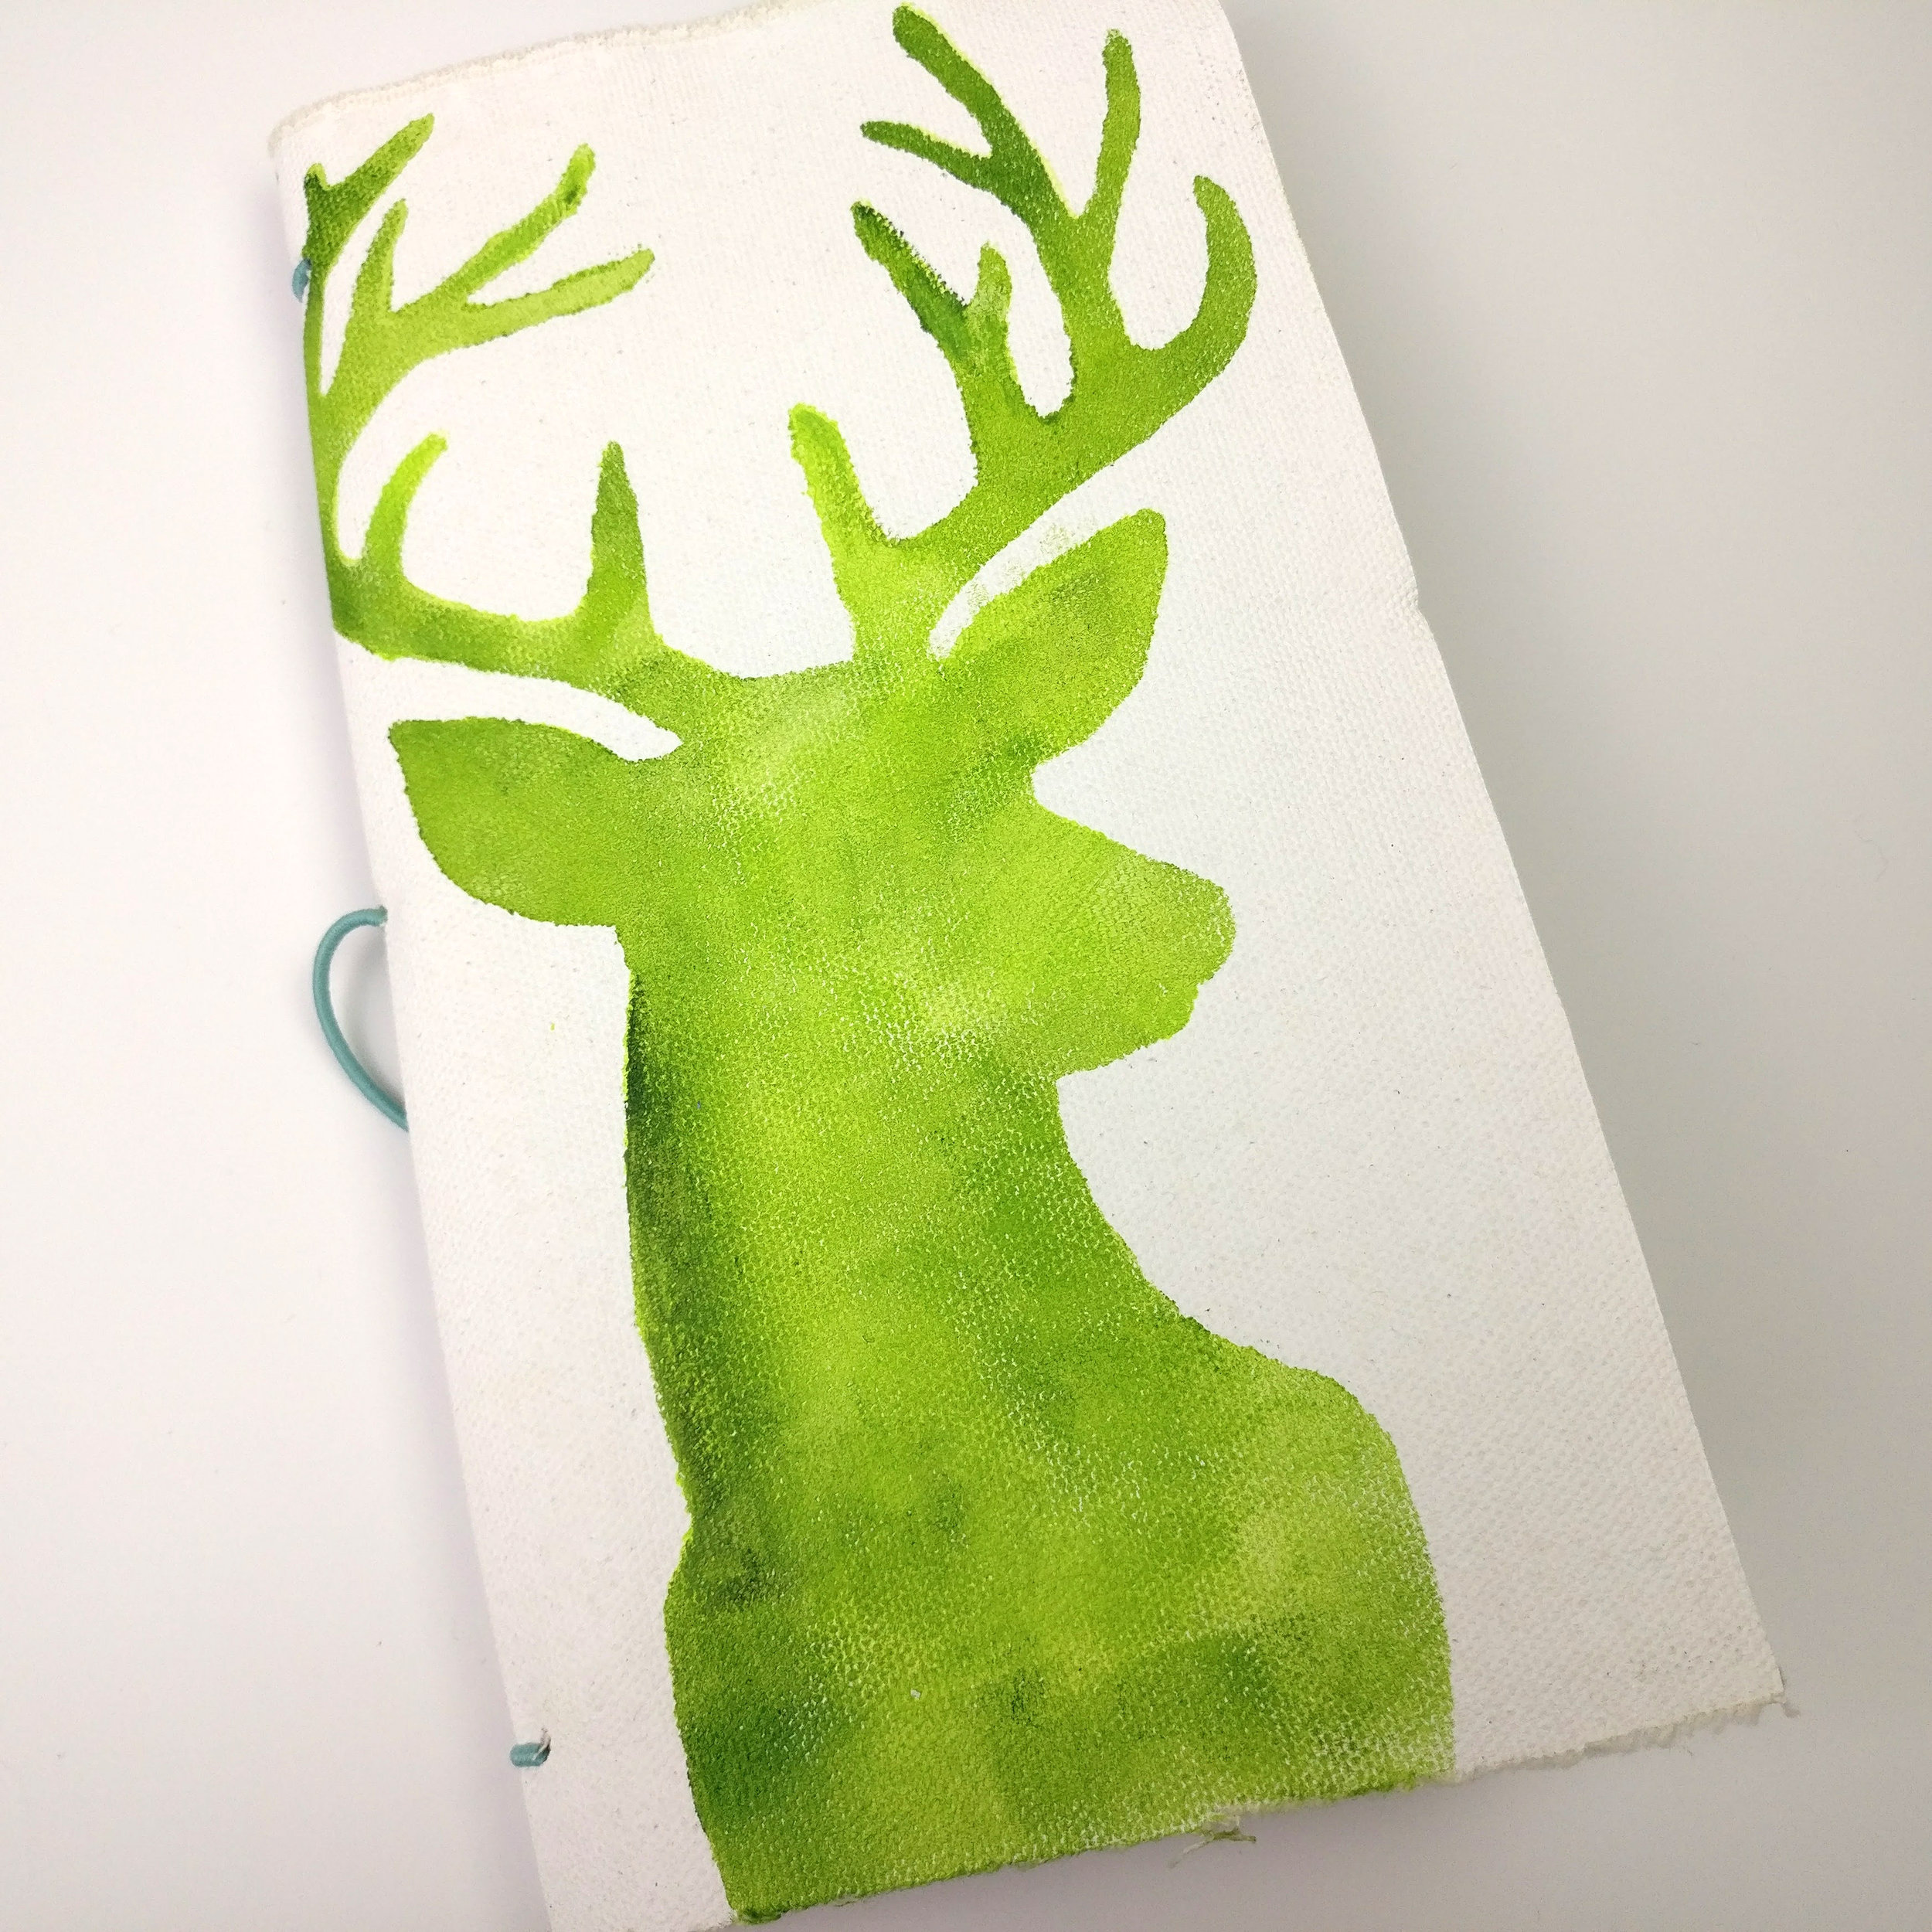
I am sharing this simple tutorial today to create your own custom Travellers Notebook cover for Stencilgirl's Holiday Blog Hop. I wanted to create a beautiful cover for my junk journal I have created to work in for December Daily this year.

Make Your Own Custom Travellers Notebook CoverI'm sharing how I have made my custom cover for my Travellers Notebook Size Junk Journal for my December Daily for 2017. I am determined to complete December Daily this year!I'm working with Judit Pfaff …

Planning out December Daily

I am putting out there to the universe right now that I, Karen Gaunt, do solemly swear to participate in December Daily and to bring you all along for the ride. I don't know about you but every year I WANT to do it but it always falls by the wayside by like December 3rd. 

help me be accountable!

I've created an album all ready to go in a Travellers Notebook size and I am very much hoping that by publicly committing to this project you can all hold me accountable for making sure that it happens!

New Stencils

I used the Deer with Antlers stencil from Judith Pfaff Daley which is new this year from Stencigirl. I feel in love with it the moment I saw it and I know I will be using it for many more things this Christmas!

enjoy the tutorial

You'll find the tutorial video below for you to enjoy. Of course, I have company in this video from my studio assistant, Archie. 

Please be sure to subscribe if you haven't already, I have many more December Daily posts planned for my channel as well as more gift tutorials this month!

Keep scrolling to see how you can be in with a chance of winning a $25 Stencilgirl Certificate.


We have a more than a dozen projects our Creative Team members made just to whet your appetite for the merriest season

While you are busy oohing and aahing, take a moment to leave a comment on each blog and you'll be entered to win a $25 StencilGirl Gift Certificate!

Comment by midnight CST in the USA on November 8th and we’ll randomly choose a $25 StencilGirl Gift Certificate winner. The more blogs you comment on, the more chances you have to win. We’ll announce the winner on our Facebook Page on November 9th.

Here are links to all the fantastic, magic, merry, holiday projects:

Tina Walker   

Torrie Gass   

Cindy Gilstrap   

Sherry Canino   

Sandee Setliff   

Kiala Givehand   

Janet Joehlin   

Belen Sotelo   

Louise Nelson    

Debi Adams   

Carol Baxter   

PWB SQ Promo.jpg

You can sign up right now for my free online class, Play with Black!

Black is often a color which is overlooked when working with our mixed media projects. With so many other amazing colors available, it's easy to do.

Join me as we delve into the dark side of mixed media! Working with only a few supplies, let’s explore a variety of ways black and its values  can be used to create a gorgeous, layered art journal page.

Making a Zine - Behind the scenes look

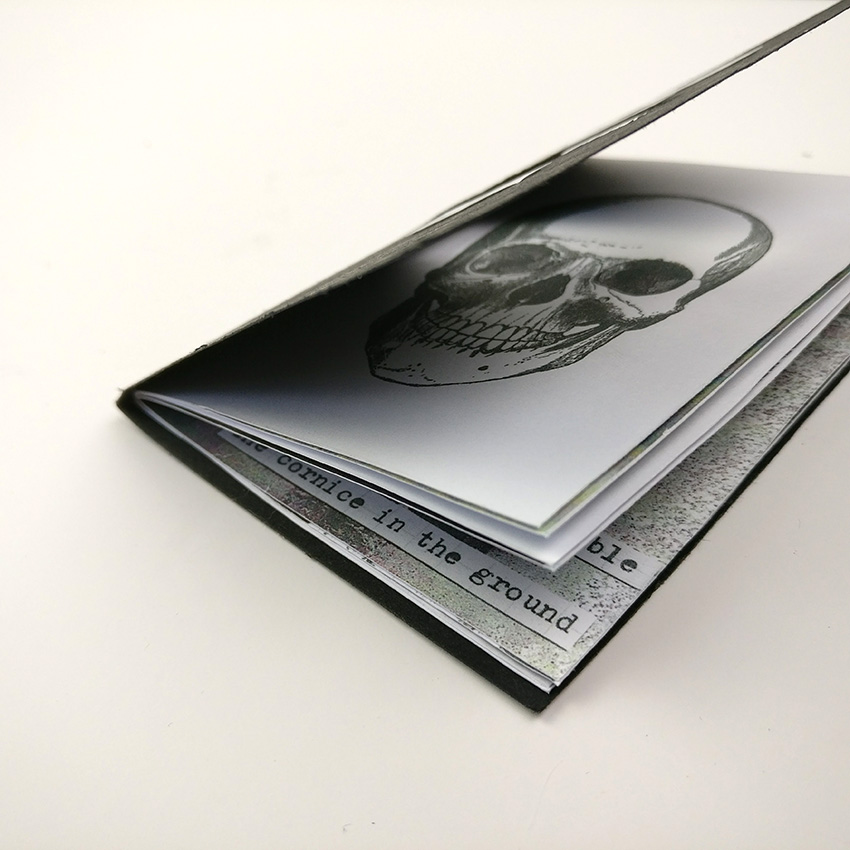
It seems that lately making a zine has become super popular in the mixed media art community. When you make your own zine you can create a wonderful, hand made and personal little piece of artwork. Creating these zines gives you the opportunity to share your artwork with the world because you can easily re produce them and give them away or even consider putting them up for sale.

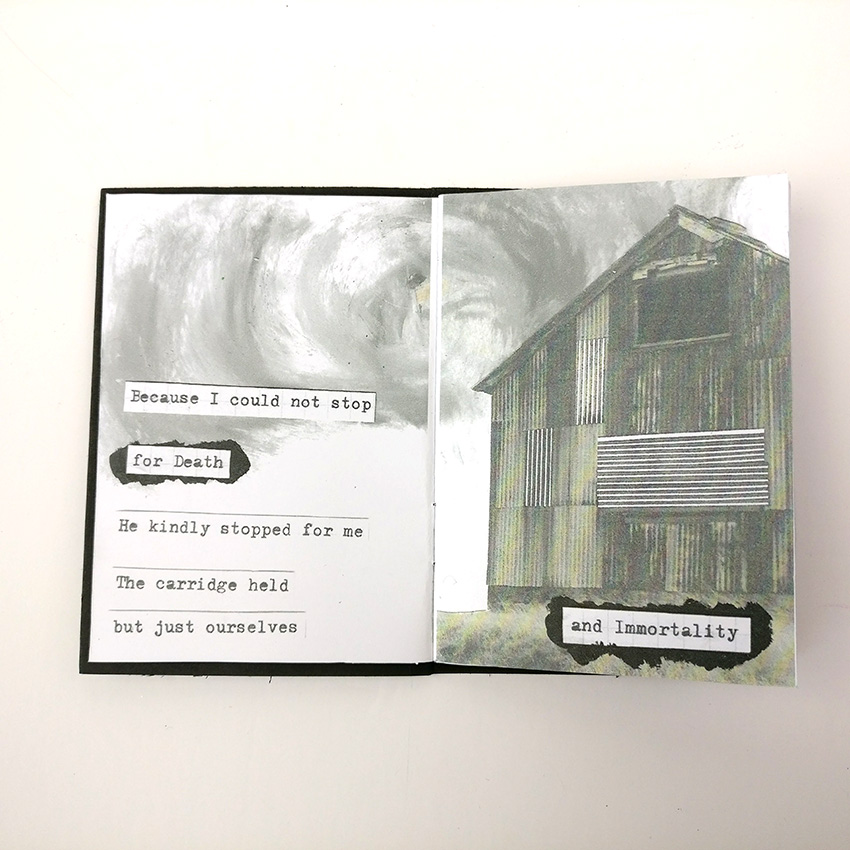
Come and take a peak behind the scenes as I make my mixed media art zine. The Zine I created this time around is based around the poem "Because I could not stop for Death" by Emily Dickinson. There are so many elements that went into making this Zin…


Zines - the origin story

Making a Zine is definitely not a new concept or ideas. They have been around for many, many years and older zines made very creative use of the photocopier and different coloured papers and that is definitely something that I want to experiment with when it comes to making more zines in the future.

Zines can really be made on any subject at all, whatever your heart desires. The world really is your oyster when it comes to making these creative pieces of Art. Zines can come in all shapes and sizes and really reflect your own personality in their uniqueness. 

Creating a hybrid

My Zines have been made in a A7 size so their are 16 pages and they are all made from one single piece of paper. I do a lot of digital manipulation of the art work I make for my zine and it is very fun to create a wonderful hybrid of my artwork and digital elements. You don’t have to do this at all and you can easily create your own zine from a single piece of A4 paper, getting started is super simple.

Finding my Zine Inspiration

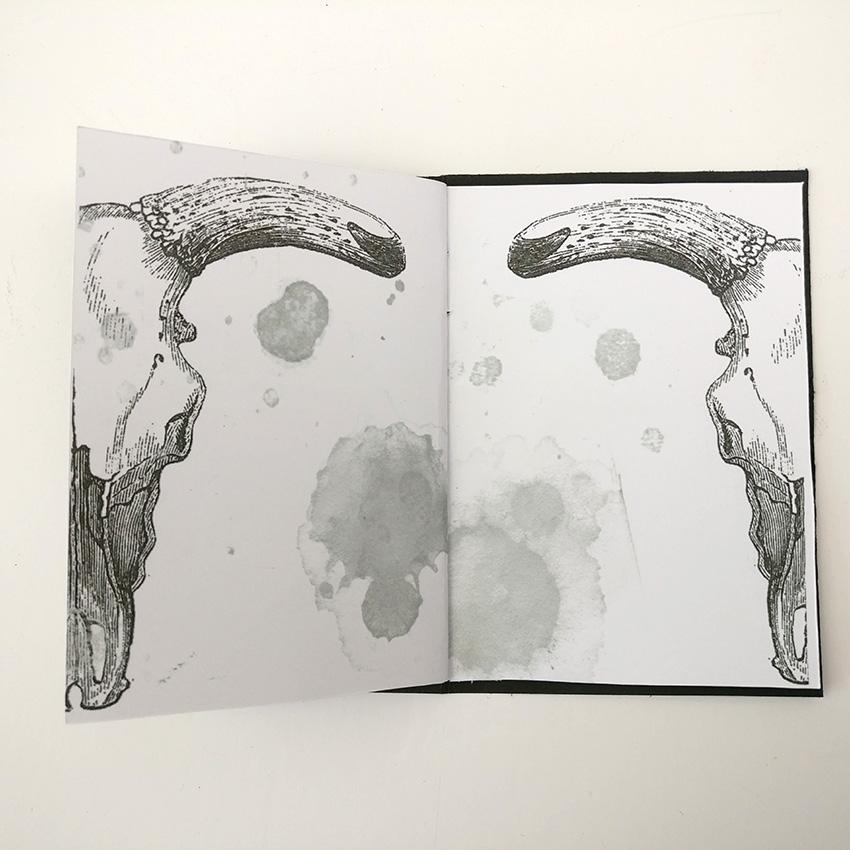
This latest Zine that I have made was inspired by the poem “Because I Could Not Stop For Death” by Emily Dickinson. I have always loved this poem ever since I first heard it in English class in school. The words and imagery have always stuck with me and I find the macabre style and subject matter very inspiring (you should see my skull collection, that’s a whole Zine in itself!) 

This zine is completely black and white and this was a very conscious decision when I sat down to start making it. I knew I wanted this Zine to have a spooky and macabre feel to it to reflect the words of the poem.

Because I could not stop for Death,
He kindly stopped for me;
The carriage held but just ourselves
And Immortality.
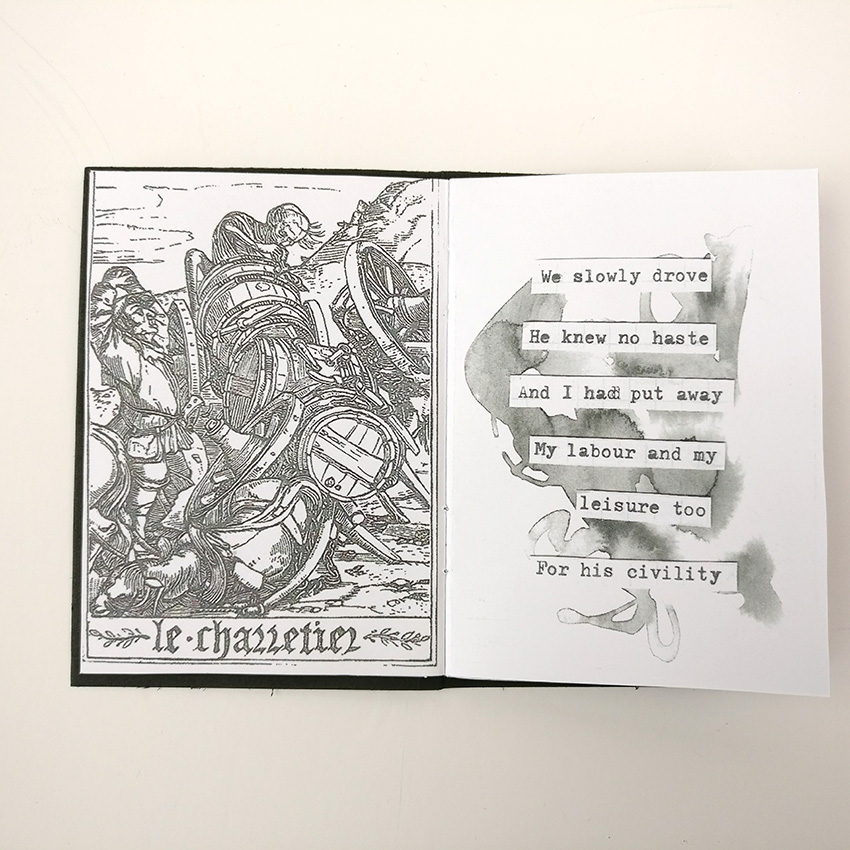
We slowly drove, he knew no haste, 
And I had put away
My labor, and my leisure too,
For his civility.
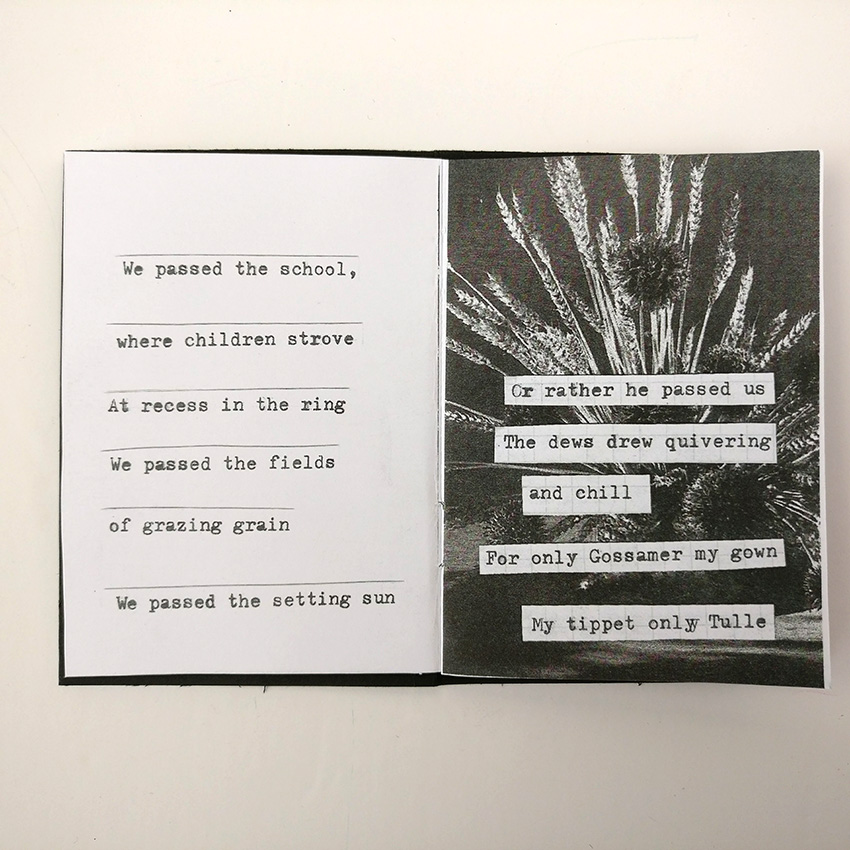
We passed the school, where children strove
At recess, in the ring;
We passed the fields of gazing grain,
We passed the setting sun.
Or rather, he passed us;
The dews grew quivering and chill,
For only gossamer my gown,
My tippet only tulle.
We paused before a house that seemed
A swelling of the ground;
The roof was scarcely visible,
The cornice but a mound.


Letting go of control

The two main art materials I used for making the Zine are oil pastels and black ink. I really wanted to work with various tones and the colour values of the color black within the pages of my little zine. I could honestly work with black ink and water all day long. Watching the movement of the ink as it flows into to water and the unpredictable nature of it. It’s so exciting to give up control like this and just have to work with what you get in this process. Most of the times to effects that you can come up with just couldn’t be created if you even tried.

Getting busy and lost

I knew that I wanted to make the text really special for these little zines. That meant breaking out my vintage typewriter to type out all the words from the poem. Yes, that’s right, every word is typed out be hand and added to the images individually. When I create I often get lost in the process and spending forever typing out the words, cutting them up, glueing them down. This kind of busy work is perfect for escaping into your own head and just become so absorbed into your own little world. Often this type of work leads to the sparking of so many more ideas for me.

I typed out the words onto gridded graph paper so they have a really subtle pattern in the background and it gives the text another layer of extra depth.

Watch the process

I created a small video showing how I created some of the pages of my zines and you can watch me create, with the help of my trusty studio assistant, Archie. He's very critical and always pushes me to create my best work when I am arting! 


Do you collage?

I pulled together so many collage images and elements that I have been saving up for so long. My book shelves are groaning under the weight of these magical books and collecting them is one of my most favorite things to do. Popping into tiny second hand book stores and charity shops (or thrift stores depending on which side of the pond you are on!) is definitely my happy time.

With the images this is where I can marry the two words of digital and traditional art making. For many of the collage images in this Zine I have scanned them first and then resized them to what will work in my zine. Many of the images came from a wonderful book of etchings that I found just by accident and of course, my trusty Dover image books. Honestly I cannot create without them!

Trash Talk

One of the pages in the zine contains some images of flies which were taken from some packaging that I literally pulled from the trash. I took these images and ran them many, many times through the photocopier. Copying copies leads to this wonderful grainy texture to the paper and images. Playing with the toner levels on the photo copier machine itself is also great fun and it creates some amazing unexpected backgrounds.

I'm a one girl band

The main body of my zines are printed by me at home at the moment. I  am looking into getting them printed elsewhere but for now I am a one girl band making and assembling them. As they are re created in this manner I am determined to make sure that each of them still contains a handmade element to them to.

So for this special zine the extra little something something comes in the form of a wax seal. This little seal is a skull and I may or may have squealed and done a happy dance in the store when I found it. There was much muttering and under breath cursing involved trying to get it just so. I them figured out that it was much easier to melt the wax in a spoon first than trying to use the wax stick. And being the value hunter that I am I just bought a cheap little teaspoon to melt the wax and then pour it on. I’m not springing for a melting spoon just yet!

Want to adopt a zine?

The zine is up for sale at the moment in my Easy store and you can check it out here and I would love for you to take one of them home with you!

I am so delighted with how the Zine came together and I hope that you enjoyed hearing more about the behind the scenes of the making of it. I would love for you to let me know what you think about it in the comments below.

Distress Oxide Inks and Stencils - A Stencilgirl Blog Hop

Tim Holtz Blog Hop Header.jpg

When I heard that we were going to be doing a blog hop with Tim Holtz I was very very excited! Ranger products were some of the very first ones that I ever bought in my mixed media journey and they have remained a staple every since then!

Stencilgirl are having an amazing give away as well so be sure to scroll to the end to see how you can be in with a chance of winning!

Working with the Distress Oxide Inks and Stencilgirl stencils is a match made in heaven as far as I am concerned. I'm sharing with you a great resist technique in my mixed media art journal using gesso and the distress oxide inks from Tim Holtz. Fol…

When we got the choices of products I knew straight away I wanted to try out the new Distress Oxide Inks in my art journal. I have to say I normally have no problems working my stencilgirl products along with new supplies but I was a little stumped with the inks. How could I get them to work with my stencils?

Having a play

I was playing in my sketchbook with a few ideas and then I had a thought about using them with Gesso. Would the Gesso change the color? How would it react if I used Gesso as my "paint" with a stencil?

The end result

I discovered a really cool technique using the Gesso which I am excited to share with you today. The technique worked especially well with the Klimt Forest stencil I picked for my art journal page. I hope you enjoy the video tutorial!


Tim Holtz Blog Hop Giveaway image.jpg


GIVEAWAY

One lucky winner will receive a $50 Gift Certificate to StencilGirl Products!

Sign Up for The Scoop for your chance to WIN!

Then visit the blogs of Team StencilGirl and comment for MORE chances to win!

The more blogs you comment on, the more chances you have to WIN!

One winner will be chosen at random from The Scoop subscribers and blog comments!
(One comment per blog please.)

You have until Tuesday, October 24th at 11:59PM Central Time to leave your comments.

Winner will be announced on
StencilGirl's Facebook page on Wednesday, October 25th.

October 18: Adirondack Alcohol Inks
Mary Beth Shaw

Debi Adams

Cindy Gilstrap

Carol Baxter

Sandee Setliff


October 19: Distress Oxide Ink Pads
Gwen Lafleur

Belen Sotelo

Tina Walker

Karen Gaunt

Louise Nelson


October 20: Distress Crayons 
Sherry Canino

Torrie Gass

Mary C. Nasser

Kiala Givehand

Janet Joehlin


PWB SQ Promo.jpg

You can sign up right now for my free online class, Play with Black!

Black is often a color which is overlooked when working with our mixed media projects. With so many other amazing colors available, it's easy to do.

Join me as we delve into the dark side of mixed media! Working with only a few supplies, let’s explore a variety of ways black and its values  can be used to create a gorgeous, layered art journal page.

100 Days of Found Poems - Poems Ninety One to One Hundred

100 Days of Found Poems - Using found words from the novel "Cranford" I'm creating 100 mixed media art works using found ephemera and scraps I have in my stash. I've created an Art Journal Walk through of all the pieces in this unique mixed media pr…

I'm sharing my 100 Days Project here on the blog for your with a video walk-through of all of my found poems broken into sets of ten.

For 2017 I decided to create 100 found poems using the novel "Cranford" as my source material. Working with words and phrases from the novel I have made these found poems on envelopes, postcards and all sorts of found ephmera. Using what I have to hand I have created this project in an A5 ring binder journal to create a unique Art Journal to house this project.


Mailerlite Image.jpg